Instruction Booking
This is how it's done - Instructions for booking list
1) Create new booking list
First, a title must be given to the booking list. Next, a description can be added.
Then it must be selected whether the options to be booked should contain a text and a date or only one of the characteristics.
2) Set booking options
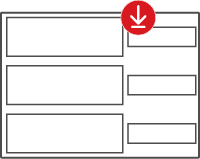
Create a booking option with text and date.
Enter the name of the booking option in the text field.
The date can be entered as DD.MM.YYYY or selected from the calendar.
Various entries can be made for the time.
A time is defined with HH:MM.
By placing a tick by "all day" the input field for the time is omitted and an all-day time window is specified for the booking option.
With a tick at "Show end date" additional fields for the entry of an end date and time are shown. This allows a multi-day booking option to be created.
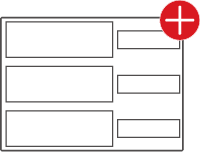
2.1) Add another element
Further booking options can be added to the booking list via "Add further element".
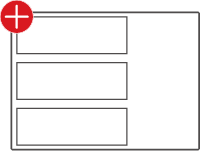
2.2) Change row order
With "Show row order" a column is displayed to determine the order. The drop-down list can be used to determine the position of the respective booking option.
3) Further options
After all available options have been added to the booking list, a time window as well as a participant limit for the bookings can be set under "further options".
3.1) Time window for bookings
A time window with start and end points restricts the time period in which bookings can be made.
3.2) Specify limit
A limit can be used to restrict the maximum number of participants per booking option.
In addition, by ticking "Participants may only choose one option", it can be determined that each participant may only book one option.
The function "Allow comments" allows participants to leave comments.
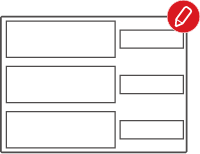
4) Save and edit booking list
When the booking list has been created, it should be saved. The view of the booking list then appears and it can be edited again if necessary.
The three tabs "View", "Edit" and "Bookings" allow switching between the view of a booking list, editing and the overview of bookings already made.
5) Share booking list
In the "View" tab, under "Link to booking list", the link to the booking list can be copied and shared.
6) Copy booking list
In the "View" tab, an already existing booking list can be copied under "Copy booking list". The contents of the list are transferred to a new booking list. Bookings that have already been made are not transferred. The new booking list can be adapted to current circumstances and shared again.
7) Export bookings
Under the "Bookings" tab, the bookings can be exported as a CSV file.